Pat in the Pan Pie Crust Recipe made Easy
Posted by Warren
Makes one 9-inch pie, single crust, pie dough. Total prep
This is an easy and simple pie crust to make without using a rolling.
Pat in the pan pie crust will fool everyone.
Oil only pie crust is very short, sandy, bad cooking dough, no flakiness and does not hold up well. Yuck!
This recipe is easy as an oil crust but still has a good taste with some flakiness.
The secret is to use a Jewish pastry called Rugelach Pie dough.
— Pat in the Pan Pie Crust Recipe (Rugelach Pie dough) —
Pat in the Pan (Rugelach) Pastry dough – single crust
1 1/4 cups all-purpose flour
2 tablespoons sugar
1/4 teaspoon fine salt
2 ounces cream cheese softened (about 4 tablespoons)
1/2 cup soften butter at room temperature (8 tablespoons)
Directions for mixing the dough
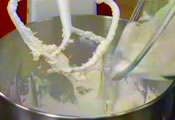
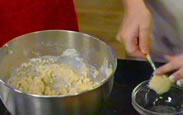
1. Combined the cream cheese and the butter in a mixer. Mix these for about 2 minutes until completely homogenized. Scrape down the sides.
2. In a separate bowl toss the dry ingredients with a fork or whisk.
3. Add the flour mixture to the butter and cream cheese mixture. Mix it at medium low. It will resemble cornmeal. Continue until it comes together like large clumps of dough.
4. Reserve 3 large tablespoons of dough to make the fluted edges of the pie crust. It’s difficult to get that truly homemade pie crust look with just pressing the dough in the pan.
5. Flour your surface. Turn the mixture on to your board. Work the mixture together with your hands.
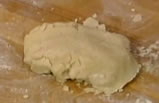
6. Pat in into a large flat disk. The dough should be smooth and not sticky.
This is likened to a tart dough.
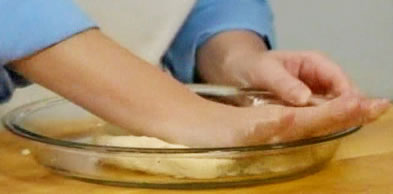
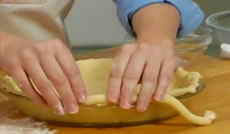
7. Transfer your disc to a greased or buttered 9� pie pan or spray with vegetable oil. The dough will stick if this is skipped.
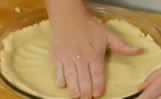
8. Using the heel of your hand start spreading the dough out to the side. This step should not be difficult.
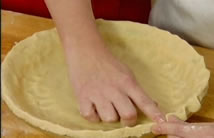
9. Use your fingers to get an even layer on the bottom. Start to work the dough slowly up the sides of the pie pan.
Don’t worry too much about this pie crust.

10. If it’s a little uneven it will be Okay. Start working up the sides of the pan once the bottom is spread out.
What about the edges?
We are going to use the 3 tablespoons of reserved dough for the edges.
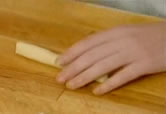
1. Roll it out like a rope until it’s about 12� inches in length. If it starts to stick, dust with flour surface and fingers.
2. Break it into three pieces about 4 inches each. Roll out each of these to about 8 inches.
3. Start to form these pieces to the outside edge of the pie crust.
4. Pat and pinch it in the pan and form the edges with the remaining pieces.
5. Stretch if you need to connect the ends completely. Go around the whole pie.
6. Now flute the edges with your finger tips.
7. Loosely cover with foil or plastic wrap and chill for about an hour or keep chilled for 2 days or freeze it for a month.
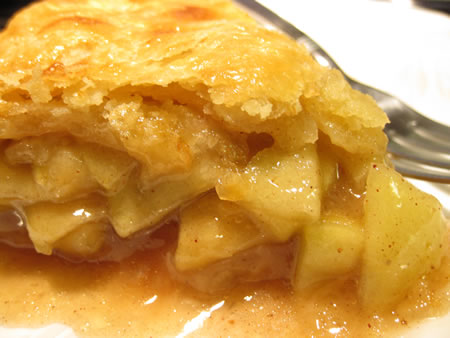
8. The Pat in the Pan Pie Crust is ready for your filling or be pre baked.
Pre-bake your Pat in the Pan Pie Crust
1. Prick bottom with a fork. Try not to go all the way through because the filling might flow through these holes.
2. Put it in a preheated oven at 325. Place it a little lower in the oven closer to the heat source.
3. Bake for about 35 minutes until it is golden brown.
4. Do not let the edges get dark. Cover your edges if you feel they will.